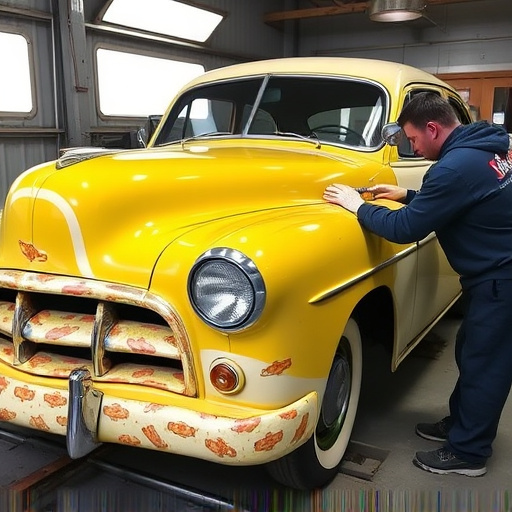


Tesla charging port repair requires specialized tools and expertise for issues like loose connections, damaged covers, slow charging, or recognition failures. Gather tools like model-specific screwdrivers, pliers, soldering iron, car paint repair materials, and safety gear. Follow a comprehensive guide outlining steps from preparing tools to installing a new port with secure connections, emphasizing both functional and aesthetic restoration for Tesla models.
“Uncover the essentials of Tesla charging port repair with our comprehensive guide. From identifying common issues like loose connections or damaged ports to gathering the necessary tools and materials, we’ve got you covered. Learn a step-by-step process for replacing a damaged port, ensuring your Tesla’s charging efficiency. Understanding these basics allows you to tackle minor repairs yourself and maintain your electric vehicle’s optimal performance.”
- Identifying Common Tesla Charging Port Issues
- Tools and Materials Required for Repair
- Step-by-Step Guide to Replacing a Damaged Port
Identifying Common Tesla Charging Port Issues

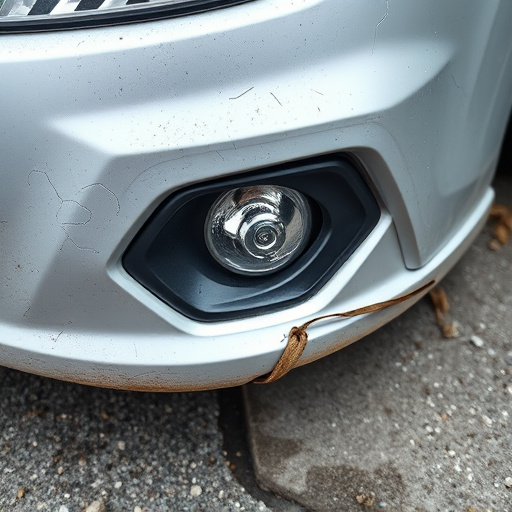
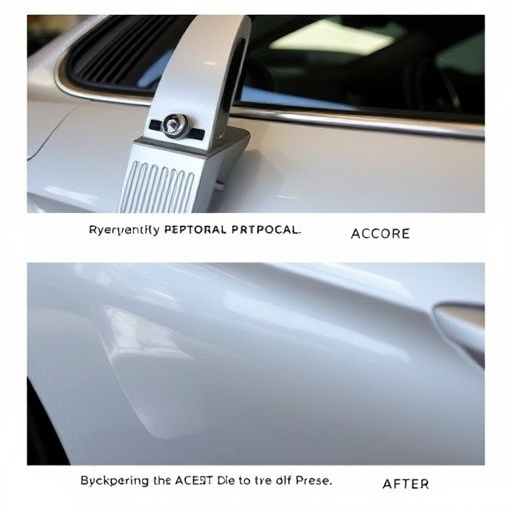
Tesla charging ports are integral to the electric vehicle (EV) experience, and issues with these ports can disrupt the convenience and accessibility of charging. Common problems include loose connections, damaged or cracked port covers, and faulty charging speeds. Sometimes, a Tesla charging port might not recognize the car’s battery, leading to charging interruptions. These issues could be due to everyday wear and tear, accidental damage, or even exposure to harsh weather conditions.
While some minor issues may be addressed by owners through simple troubleshooting, more complex problems often require professional intervention. Auto body repair experts skilled in Tesla charging port repair can diagnose and fix these issues, ensuring your vehicle’s charging system operates smoothly. Visiting a reputable auto repair shop specializing in electric vehicles is advisable to get accurate diagnostics and effective solutions for your Tesla’s charging port concerns.
Tools and Materials Required for Repair

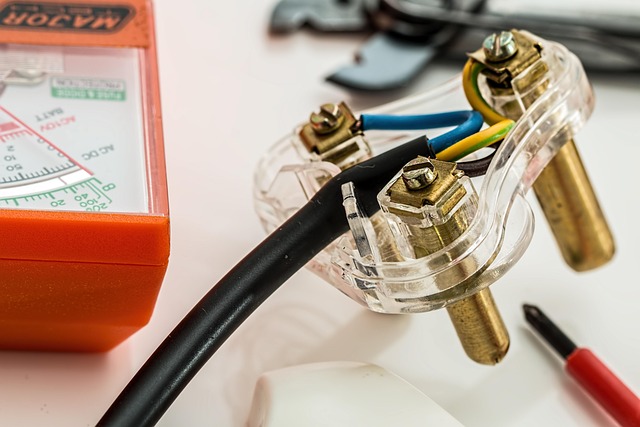
To undertake a Tesla charging port repair, several specific tools and materials are essential. A crucial first step is gathering the right equipment, including specialized screwdrivers for Tesla models (often flat-head or Torx), pliers with precise gripping capabilities, and possibly a soldering iron for more complex repairs. For cases where the damage involves the port’s outer casing, having a stock of high-quality car paint repair materials becomes necessary; this might include primer, paint, and clear coat specifically designed for automotive applications. Many experienced car body shops keep these on hand to handle various types of repairs, from minor scratches to more significant dents or cracks.
Beyond these basics, consider additional supplies like wire brushes, isopropyl alcohol (for cleaning), and heat-resistant gloves, especially if using a soldering iron. Ultimately, the specific tools and materials needed can vary based on the extent of damage, but having a well-stocked toolkit ensures a smoother Tesla charging port repair process in either a car body shop or for DIY enthusiasts with some automotive experience.
Step-by-Step Guide to Replacing a Damaged Port

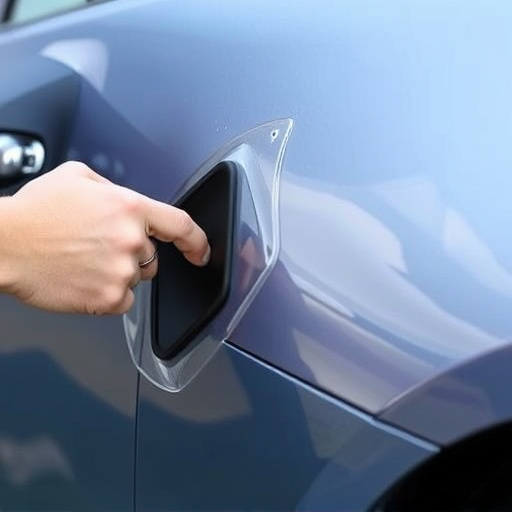
When a Tesla charging port becomes damaged, it’s important to know how to replace it efficiently. Here’s a step-by-step guide tailored for Tesla owners facing this issue. First, gather all necessary tools and materials including a new charging port compatible with your Tesla model, a phillips head screwdriver, pliers, and safety gloves. Ensure proper ventilation in a well-lit area. Next, locate the damaged port, typically found on the side or rear of the vehicle. Using the screwdriver, carefully remove any surrounding trim pieces to access the port. With the port exposed, inspect it for damage and determine if replacement is necessary.
After confirming, use pliers to carefully disconnect any electrical connectors attached to the old port. Once detached, gently pull the port out of its housing. Clean the area thoroughly, removing any debris or remnants of the old port using a soft brush. Apply fresh car paint if needed, ensuring it matches your Tesla’s exact shade for seamless integration. Install the new charging port by fitting it into the housing and securing it with screws provided. Double-check all connections before replacing the trim pieces and you’re ready to charge your Tesla again. Remember, proper techniques like these in frame straightening and autobody repairs ensure not just functional but also aesthetic restoration of your vehicle.
In conclusion, tackling a Tesla charging port repair is an achievable task for owners with some basic DIY skills. By understanding common issues and gathering the right tools, you can effectively replace a damaged port, ensuring your electric vehicle remains charged and ready to roam. Embracing this do-it-yourself approach not only saves costs but also fosters a deeper connection with your Tesla, allowing you to navigate the transition to cleaner energy with confidence. Remember, for any complex repairs, consulting a professional mechanic is always an option. Keep your Tesla’s charging system in top shape and enjoy the convenience of hassle-free electric vehicle ownership!